


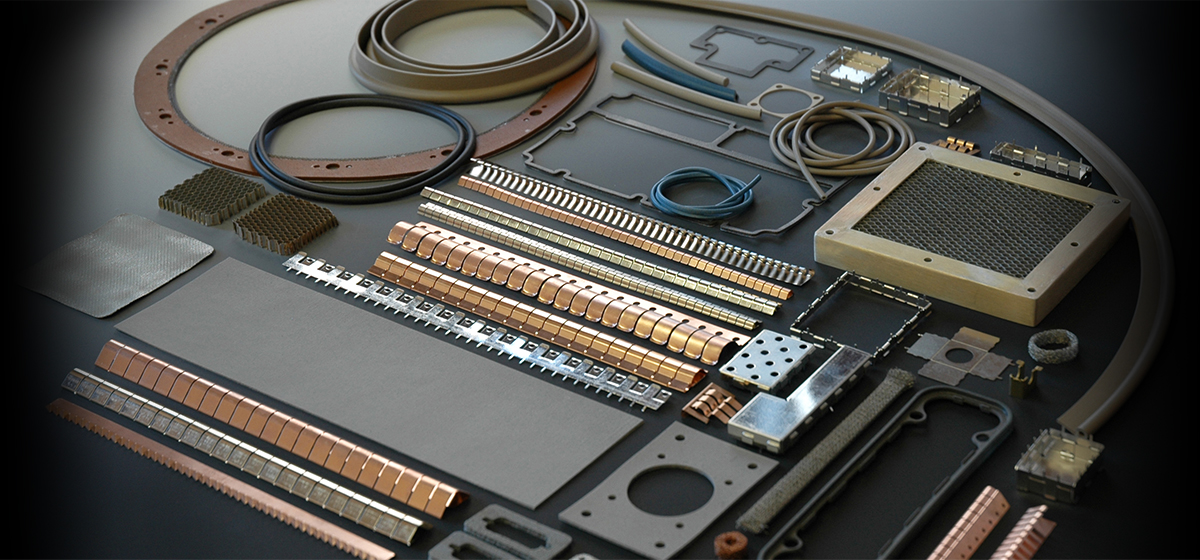
Do you know the primary difference between simple metal boxes and electronic enclosures? In most cases, it is the design modification that becomes a distinguishing factor. This refers to the changes needed for providing access to the interior and for protecting the internal components from electromagnetic interference. In case of enclosures you’ll typically require a single cutout for a power cable and several other changes including tappings, gaskets, holes, cutouts, pre-assembly, and final finishing.
Though enclosure manufacturers can complete modifications in 10-15 days time, competent suppliers can turn around simple tweaks in just five days. Here are some tips to make enclosure design modification simpler for cost-effective shielding:
Look for the Right Supplier
When it comes to enclosure sizes, the standard ones are less expensive than customized products. Therefore, look for a supplier who offers a range of sizes that suit your EMI shielding needs. If you choose the right enclosure, you may not require a few of the modifications. For instance, if you opt for a polycarbonate casing with a transparent lid, there is no need to include cutouts for displays and LEDs. If you go for sheet metal boxes that are designed by bending the metal, the extra cost for a custom-made dimension will not be heavy on your pocket. However, a customized plastic enclosure means more lead times and considerable molding costs. This is the reason you must get in touch with a supplier who can make quick modifications, have invested in tooling, and is prepared to receive customer CAD files.
Know Your Design Modification Needs
It’s important to understand your enclosure modification requirements. If you know your enclosure needs early, it will help you reap the maximum benefits of a stock enclosure that will cost you less. You’ll also benefit in terms of less lead time than a customized product. With more time and planning, you get the liberty to alter the position of the mounting screws on a printed circuit board. This way, you may choose taller keys to make up for a standard enclosure’s depth or organize according to a stock enclosure’s mounting cards. Experienced suppliers can mill out a proper mounting card or include tapped inserts to improve the stand-off. This process helps in mounting the printed circuit board close to the front of the casing.
Know Where You’ll Need the Cutouts
There are a few components, like a switch, that needs to be connected to a printed circuit board with a flexible cable. In this case, the precise cutout positioning is not that important. But when you want to mount a data port on the printed circuit board, the cutout should be positioned accurately with respect to the mounting cards.
Ask Your Supplier about Product Tolerance Level
As far as product tolerance level is concerned, it depends on the accuracy or perfection of the equipment employed. Always ask your enclosure supplier to test the product’s tolerance so that the supplier can accommodate a turn-key modification in less cost and time. Two holes can meet tolerance requirements, but still may fail to fit your design needs. If a single hole is counterbalanced a little to the right and the other towards the left, the combined distance may be crucial in this respect. Therefore, make sure you inform the enclosure supplier which cutout has the maximum tolerance so that the other cutouts can be designed accordingly.
There are some other points to consider in order to make the enclosure modification process smooth. These include grounding, mounting, wall thickness, and draft angles. Choose a supplier that offers electronic enclosures with pre-assembly components like mounting brackets and cable glands. Custom labels and decals on these products make shipment easier and hassle-free.
